Cope vs. Miter Baseboard Inside Corners
Quick answer
Coping is usually more forgiving for profiled baseboard inside corners because one square-cut piece supports the shaped edge of the other. A measured miter can work for stable, straight stock and accurate corners, but room geometry and finish expectations control the choice.
Common questions
- Do you always cope inside baseboard corners?
- No. Coping is often forgiving on profiled paint-grade trim and imperfect corners, while measured miters can suit some flat or clear-finished profiles. Test the actual stock and corner before batching cuts.
- Why is there a gap at the face of my cope?
- The back of the coped piece may be contacting the square-cut board before the visible profile seats. Add a slight back-cut and remove only the interference point, checking the fit after each adjustment.
Source note: Reviewed against Woodgrain's current moulding installation guidance and practical test-fitting methods.
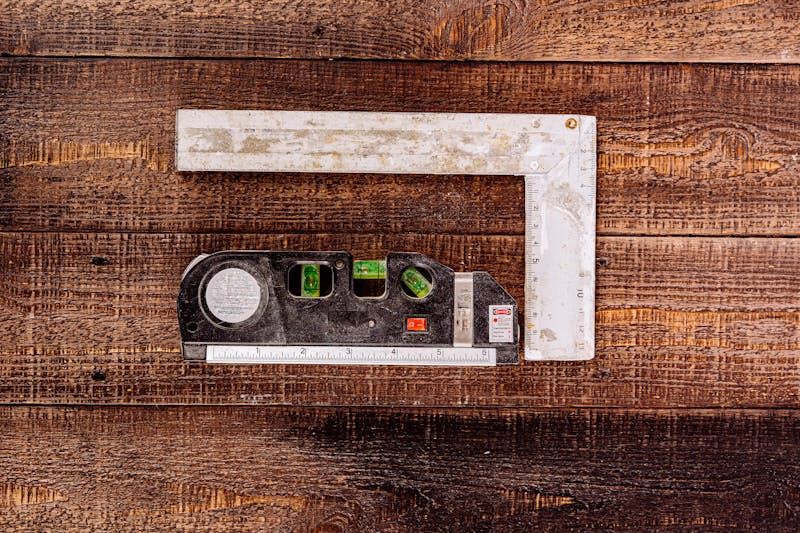
An inside corner can measure close to 90 degrees and still refuse to close. Drywall compound builds up near the corner, framing twists, the baseboard cups, and the floor pitches. A pair of automatic 45-degree cuts cannot correct all of those variables.
Coping separates profile fit from room angle. Mitering divides the measured corner angle between two pieces. Both methods can produce a clean joint, but they fail for different reasons. This guide concentrates on choosing, fitting, and troubleshooting the corner; see our full baseboard installation guide for wall layout, fastening, and caulking.
Quick decision: cope or miter?
| Condition | Coping usually helps | Mitering may work well |
|---|---|---|
| Profiled paint-grade baseboard | Yes | Possible with accurate measurement and stable stock |
| Inside corner is not 90 degrees | Accommodates variation well | Requires measuring and splitting the actual angle |
| Seasonal movement is expected | Profile can stay visually closed against the square-cut piece | The visible seam can open |
| Flat stock with little profile | Offers less advantage | Simple and easy to tune |
| Clear-finished or stain-grade trim | Can be excellent, but demands a clean profile edge | Matched grain and a precise miter may look better |
Woodgrain’s moulding installation guide describes a cope as one square-cut piece with a second piece shaped to fit over its face. It also notes why coping can accommodate corners that are not 90 degrees and resist visible opening from shrinkage.
Why inside corners vary
A digital angle reading is only one piece of the fit. Before choosing a cut, inspect the full height and length of the joint.
- Drywall buildup: Joint compound can create a hollow behind the baseboard or push the bottom outward.
- Floor pitch: A piece can stand plumb at one end and lean at the corner.
- Stud and plate movement: The corner may twist rather than form one consistent angle.
- Profile variation: Primed finger-jointed trim, MDF, and solid wood can vary slightly between runs.
- Wood moisture: Solid-wood molding can change width as conditions change. Review wood movement fundamentals before fitting wide stain-grade stock tightly across a whole room.
Use a short offcut of the actual baseboard to probe the corner. This reveals wall and floor interference without sacrificing a full-length piece.
How to transfer and back-cut a cope
The visible line of a cope comes from the molded profile, not from tracing the wall angle.
- Install or position the receiving piece square. Its end butts into the corner.
- Cut an inside miter on the coped piece. The angled cut exposes a crisp boundary between the face and cut surface.
- Mark the profile if needed. On dark or complex material, a pencil rubbed along the boundary makes the line easier to follow.
- Remove the waste with a slight back-cut. Angle the coping saw so material behind the face is relieved while the visible profile edge remains intact.
- Relieve long flat sections. A rasp, file, or sanding block can remove back-side interference without touching the face line.
- Test from the installed orientation. Floor contact and wall lean affect the fit.
- Tune one contact point at a time. Look for burnished or crushed spots on the back, remove a small amount, and test again.
A back-cut is not permission to make the profile edge paper-thin. Leave enough material to survive handling and fastening. Complex profiles may be easier to refine with a small file than with aggressive sanding.
How to fit a measured inside miter
For a miter, measure the angle where the face of the baseboard will sit rather than assuming the framing is square. Divide the included angle between the two pieces as a starting point.
Make test cuts on short scraps, place them at finished height, and inspect the seam. The miter saw buying guide covers saw features, but even a well-tuned saw cannot compensate for a piece rocking on floor or drywall buildup.
If the seam is closed at the top and open at the bottom, changing the horizontal miter angle may not solve it. Check whether one piece is leaning. A small bevel adjustment, wall relief, or correction of the seating surface may be needed. Avoid forcing a joint closed with nails; stored pressure can move the trim or reopen the seam later.
Diagnose the gap before recutting
| Gap pattern | Likely cause | Next check |
|---|---|---|
| Cope touches behind the face | Too little back-cut | Mark the contact point and relieve only the back |
| Cope closes at top but opens at bottom | Piece is leaning or floor changes height | Test both pieces plumb and check the bottom edge |
| Miter closes at heel but opens at face | Cut angle is wrong or stock is bowed | Test short scraps and a straightedge |
| Miter closes at top only | Bevel or wall-plane mismatch | Check the corner in two planes |
| Joint fits loose before fastening | Profile was cut past the line | Recut rather than filling a moving edge |
| Joint fits dry but opens after nailing | Fastener pulled the piece or struck poor backing | Check placement, backing, and drive sequence |
Good troubleshooting is incremental. Recutting both pieces after every failed test removes your reference and can shorten the run beyond recovery.
Sequence affects the coping direction
In a simple rectangular room, many carpenters work clockwise or counterclockwise so each new piece is coped onto the previous square end. Doorways, built-ins, and very long walls can interrupt that pattern.
Plan the sequence before the first cut:
- Put square ends where they will receive a cope.
- Hide less favorable joints behind doors or furniture where practical.
- Use scarf joints on long runs rather than forcing short pieces into both corners.
- Cut the cope on the end that lets the full piece enter the room and seat without bending dangerously.
Transfer dimensions from a consistent face. The marking and measuring guide explains why flipping references or stacking measurements creates cumulative error.
Paint-grade and stain-grade finish choices
For paint-grade trim, a hairline at the wall can usually be caulked after the joint is mechanically sound. Caulk should not be used to rebuild a missing molded edge or hold a loose corner together. Fill nail holes and small surface defects with a product compatible with the primer and paint.
Stain-grade work exposes the joint. Match color and grain where possible, make final adjustments with sharp tools, and test filler on scrap; many fillers accept stain differently from the surrounding wood. A slight cope shadow can be less noticeable than a miter line that changes width from top to bottom.
Choose the method the room will tolerate
Use coping when a shaped baseboard must meet an imperfect inside corner with a durable-looking profile. Use a measured miter when the stock, room geometry, and finish make a two-piece seam practical. Neither method should be selected by habit alone.
Make two scrap samples, place them at the real finished height, and keep the one that closes without force. A five-minute test fit is faster than filling the same failed corner throughout the room.

The Carpenter's Guide Editorial Team
Independent trade-focused editorial team