Drill press wobble: Isolate runout before fixing it
Quick answer
If a drill press bit wobbles, stop and unplug the machine before inspecting it. Rule out a bent or poorly seated bit first, then separate chuck and taper evidence from quill, spindle, bearing, and workholding symptoms. Measure only by turning the spindle with power disconnected and by the method allowed in the exact manual.
Common questions
- Why does my drill press bit wobble?
- Common cause families include a bent or poorly seated bit, a chuck that is not installed or gripping correctly, debris or damage at a taper, arbor error, spindle or quill play, and worn bearings. Unplug the machine and isolate those stages in order instead of replacing parts from the visible wobble alone.
- How do I measure drill press runout?
- If the exact manual permits the check, unplug the press, rigidly mount a dial indicator against a suitable straight test pin, and rotate the spindle only by the manual-approved method. Total indicator reading is the difference between the highest and lowest readings over one full revolution. Never run the motor against an indicator.
- What is acceptable drill press runout?
- There is no responsible universal number for every drill press, chuck, measuring point, and operation. Compare a repeatable reading with the specification or service limit for the exact machine and chuck, then decide whether the resulting hole meets the fit, location, and finish the job requires.
Source note: This diagnostic was checked on October 19, 2026, against current Palmgren and Dake/Laguna drill press manuals, Starrett indicator guidance, and OSHA drill press safety guidance. Model examples explain the decision flow; they are not universal repair instructions or hands-on test results.
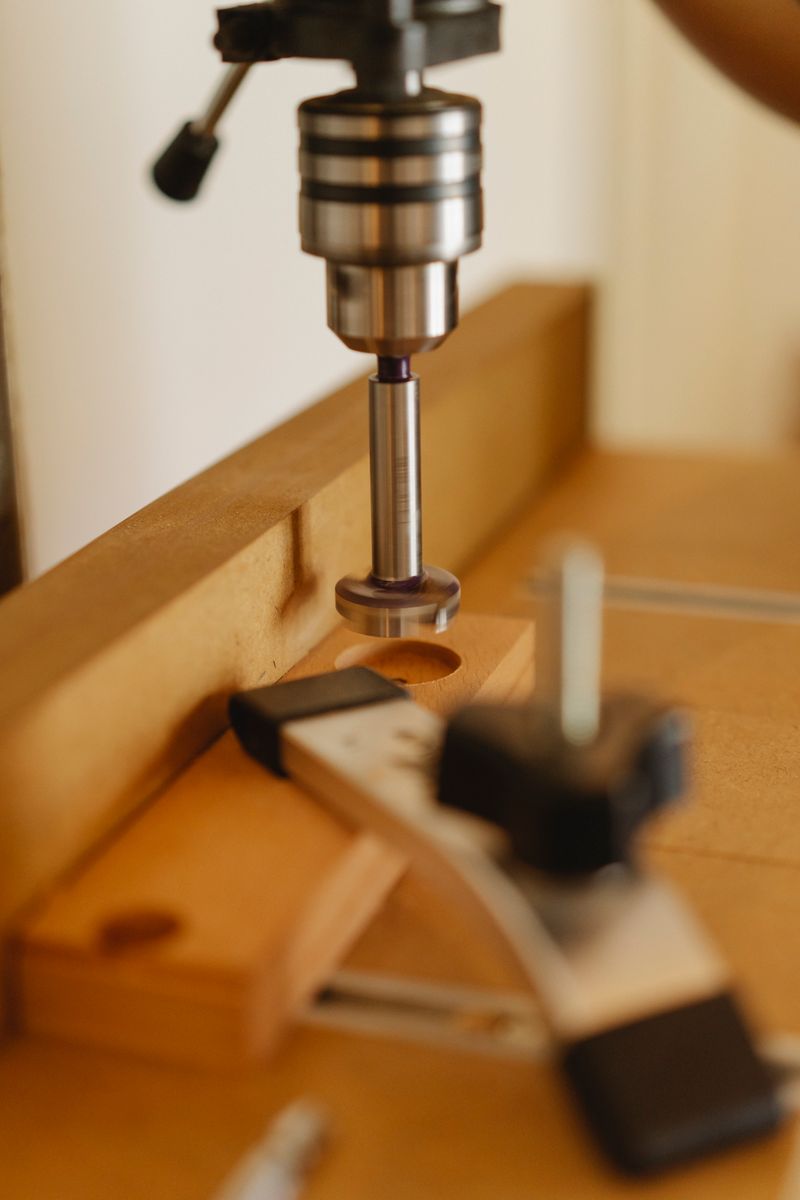
If your drill press bit wobbles, do not start by buying a chuck or adjusting the bearings. Stop the machine, unplug it, and locate where the error enters. A bent bit, uneven seating, a chuck or taper condition, quill or spindle play, and moving work can produce similar symptoms but require different decisions.
Drill press wobble diagnostic at a glance
| Stage | Evidence to collect | Decision |
|---|---|---|
| Bit | One bit wobbles; another suitable straight bit or test pin does not | Replace the bent or damaged bit |
| Bit seating and chuck grip | The reading changes after cleaning the shank and reseating the same test pin | Correct insertion and tightening by the chuck instructions |
| Chuck and taper/arbor | The test pin still runs out; the chuck or accessible mounting surface shows repeatable error | Follow the exact model’s inspection, installation, or service procedure |
| Quill, spindle, and bearings | Error or play changes with quill position, or there is roughness, noise, heat, or looseness | Remove the press from service and use the specified adjustment or qualified service route |
| Workholding and setup | The rotating assembly measures consistently, but holes wander, enlarge, chatter, or pull the work | Correct the bit, backing, table, fence, clamp, speed, and feed setup |
Palmgren and Dake/Laguna troubleshooting tables both connect excessive runout or wobble with bent bits, incorrect bit or chuck installation, and worn spindle bearings. Their remedies apply only to the covered machines.
Make the press safe before diagnosing wobble
Disconnect the plug or use the machine’s documented energy-isolation procedure. Wait for every part to stop, remove the chuck key, and keep guards installed.
- Never place a dial indicator against a part while the motor is running.
- Rotate the spindle only by the safe method in the exact manual. Do not reach into a guarded drive unless that manual directs the procedure with power isolated.
- Do not hold a test pin or workpiece by hand. Clamp work and support long stock before any later powered proof cut.
- Stop if the chuck or arbor is loose, a taper is damaged, the quill has obvious play, or the machine develops new noise, heat, or vibration.
OSHA’s drill press guidance identifies inadequate workholding as a common source of injury. A sound spindle does not make a hand-held workpiece safe.
Wobble and runout are related, but not identical
Wobble is the visible symptom: a bit or chuck appears to orbit instead of turning on one centerline. Runout is a measurement of that deviation at a defined surface and distance.
A dial indicator reports total indicator reading (TIR) as the difference between the highest and lowest readings during a full revolution. Record the measuring point, because a reading near the chuck and one farther down a pin answer different questions.
There is no universal drill press runout tolerance. A maker may specify a component at a particular point, while the operation is judged by hole location, diameter, fit, and finish.
Stage 1: rule out the bit and its seating
With the press unplugged, inspect the suspect bit and shank. Chips, pitch, burrs, damage, or gripping on the flutes can prevent consistent seating.
- Clean the shank by the bit maker’s instructions, then substitute a suitable known-straight bit or precision test pin.
- Insert it to the specified depth; do not bottom it against an internal surface unless instructed.
- Tighten the chuck by its instructions, remove the key, and rotate the assembly only by the permitted manual method.
If only the original bit wobbles, replace it. If suitable pins disagree, confirm that each is straight, clean, correctly sized, and held on a comparable surface before blaming the chuck.
Stage 2: separate chuck and taper evidence
If a straight test pin still wobbles, inspect the chuck, jaw movement, and mounting surfaces the manual makes accessible. Look for uneven closure, damage, looseness, or contamination; never dress a taper with abrasive paper or a file.
Palmgren warns that a foreign particle on the chuck or arbor taper can prevent seating and cause wobble. Dake/Laguna likewise connects taper debris with an assembly that will not remain seated. Neither source makes one removal or reseating method universal.
Identify the mounting arrangement from the exact manual. If it provides no owner procedure, stop and use the manufacturer or a qualified machine-service provider.
Stage 3: measure runout without powering the spindle
Use an indicator only if the manual permits a rigid setup without removing a guard.
- Secure the indicator base to a surface that does not move with the test pin.
- Put the contact near mid-travel against a smooth reference, aligned as the indicator maker directs.
- With power disconnected, turn the spindle one revolution by the approved method and subtract the low reading from the high.
- Repeat at the same point to prove the result is stable, then change only one variable.
If safe access exists, compare a test pin close to the chuck and farther down. A reading that grows with distance can indicate an angled, bent, or off-axis pin; it does not prove a bent spindle.
Measure a chuck, arbor, or spindle only on surfaces the service information identifies as valid references. Record the point, quill position, pin, and setup.
Stage 4: check quill, spindle, and bearing evidence
Runout is rotational error. Play is movement under a change in direction or load; one does not prove the other.
With power isolated, follow the manual’s quill and spindle inspection. Compare retracted and permitted extended positions, using only the force and direction it specifies.
Escalate to service when you find:
- a click or visible shift at the quill, spindle, chuck, or arbor;
- a repeatable change when the quill position changes;
- roughness or binding during permitted hand rotation;
- unusual bearing noise, heat, or vibration during normal operation; or
- impact damage, a scarred taper, a loose assembly, or a chuck that will not remain seated.
Do not copy bearing, quill, chuck-removal, or taper-seating methods from another model. Springs, retainers, fits, and service boundaries differ.
Do not mistake workholding error for spindle runout
A bit can run on center and still cut a poor hole. Work may creep, a table can deflect, a fence can shift, or an unsuitable bit can wander.
If the unloaded rotating assembly measures repeatably but the hole is wrong, audit the complete setup:
- Confirm reach, vertical clearance, bit engagement, and fixture height with the drill press capacity worksheet.
- Transfer the center from one reference edge with appropriate marking and measuring tools.
- Use a sound backing board, stable table, secured fence or stop, and clamps that cannot enter the bit path.
- Match bit, speed, feed, and chip clearing to the material and both manufacturers’ instructions.
If the real job is cutting square mortises, compare a mortiser and drill press instead of side-loading an ordinary drill chuck.
Decide whether to accept, correct, repair, or replace
| Finding | Appropriate disposition |
|---|---|
| Suspect bit fails; suitable straight test pin is repeatable | Replace the bit and verify one clamped scrap hole |
| Error changes with insertion or jaw position | Follow the chuck maker’s cleaning, insertion, and tightening instructions; replace a damaged chuck if specified |
| Accessible taper is contaminated but undamaged | Clean or reseat only by the exact model’s documented procedure |
| Runout is stable and within the specified limit at the specified point | Decide whether the actual hole meets the project’s fit and finish requirements |
| Reading exceeds an exact published specification, or no safe owner procedure exists | Contact the manufacturer or a qualified service provider with the measurement record |
| Play, damage, looseness, heat, or abnormal vibration is present | Tag the machine out of service until repaired |
Document the machine, chuck, test pin, measuring point, and intended work before using the drill press buying guide to consider replacement.
Sources and scope
This decision flow was checked against these primary sources on October 19, 2026:
- Palmgren 9680209A and 9680210A operating manual
- Dake/Laguna TB-16V drill press manual
- Starrett 2900 indicator user guide
- OSHA drill press hazard and safeguarding guidance
These sources establish terminology and cause families; the manual for your exact model and serial range controls inspection and repair.
Your next step: make one-variable evidence
Record the model, manual, test pin, measuring point, quill position, high and low readings, and intended operation. Repeat the unplugged reading at the same point.
If changing only the bit removes the wobble, replace it and verify a clamped scrap hole. If error first appears at the chuck, taper, quill, or spindle—or play or damage is present—take the record to the manufacturer or qualified service provider. The goal is a safe machine that produces the required fit and finish, not the smallest number on the dial.

The Carpenter's Guide Editorial Team
Independent trade-focused editorial team