How to Install Crown Molding Like a Pro
Crown molding adds elegance and architectural detail to any room. It bridges the gap between wall and ceiling, creating a finished transition that elevates the entire space. But crown molding has a reputation for being difficult to install — the compound angles, the precise measurements, and the unforgiving nature of the cuts intimidate many DIYers. With the right approach and a systematic method, installing crown molding is a manageable project that produces stunning results.
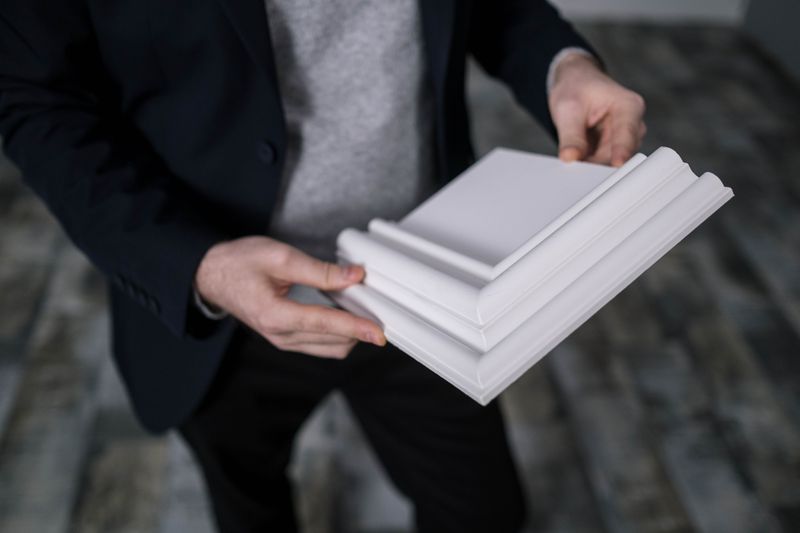
Understanding Crown Molding Angles
Crown molding sits at an angle between the wall and ceiling — typically 38 or 45 degrees, depending on the profile. This spring angle means that a simple 90-degree corner requires compound cuts that account for both the miter angle and the bevel angle simultaneously.
The easiest way to cut crown molding is nested — positioned against the miter saw fence at the same angle it will sit on the wall. When nested, the bottom of the molding rests against the saw fence and the top rests against the saw table (or vice versa, depending on the saw setup). In this position, you only need to set the miter angle — the bevel stays at zero.
For a standard 90-degree inside corner with molding nested against the fence: set the miter to 31.62 degrees and the bevel to 33.86 degrees. Most miter saws have detents at these common crown molding angles.
Tools and Materials
- Miter saw (sliding compound preferred)
- Crown molding (purchase 15-20 percent extra for waste and mistakes)
- Brad nailer (18-gauge) and 2-inch brad nails
- Construction adhesive
- Coping saw
- Measuring tape and pencil
- Caulk and caulk gun
- Wood filler
- Paint or stain to match
Measuring and Planning
Measure each wall at the ceiling line. Record measurements to the nearest 1/16 inch. Mark the locations of studs along the top plate — you will nail into these for secure attachment.
Plan your installation order. Start with the longest, most visible wall and work around the room. Place joints (scarf joints) over studs for the strongest connections. Avoid ending a piece in the middle of a wall if possible — use full-length pieces and join them at corners.
For rooms that are not square (which is most rooms), the actual corner angles may differ from 90 degrees. Use an angle finder to measure each corner and adjust your miter settings accordingly.
Cutting Crown Molding
Outside Corners
For a left outside corner: place the molding upside down and backwards on the saw with the bottom edge against the fence. Set the miter to the left at the appropriate angle. Cut.
For a right outside corner: place the molding the same way but set the miter to the right.
Inside Corners: The Coping Method
The coping method produces tighter inside corners than mitering. Here is how it works:
- Cut the first piece square and install it butted into the corner.
- Cut the second piece with a miter as if it were an outside corner, exposing the profile.
- Use a coping saw to cut along the exposed profile line, removing the waste behind the profile.
- Test-fit the coped end against the installed piece. Adjust with a file or sandpaper until the coped profile matches perfectly.
- Install the coped piece, pressing it tight against the first piece.
Coped joints are more forgiving than mitered joints because they accommodate slight wall irregularities and seasonal movement.
Installation
Apply a bead of construction adhesive to the back of the molding where it contacts the wall and ceiling. This provides additional holding power and fills minor gaps.
Position the molding and press it into place. Drive brad nails through the molding into the wall studs (every 16 inches) and into the ceiling joists (every 16 inches). Angle the nails at 45 degrees for the best grip.
At scarf joints (where two pieces meet along a straight run), cut both ends at 45 degrees and overlap them. Apply glue to the joint, align the profiles, and nail through both pieces into a stud.
Finishing
Fill all nail holes with wood filler. Apply caulk along the top and bottom edges where the molding meets the wall and ceiling. Smooth the caulk with a wet finger or caulk smoothing tool.
Fill any gaps at joints with caulk or wood filler. Sand the filler smooth once dry. Prime and paint the molding, or stain and seal if using natural wood.
Pro Tips
Work with a helper for long pieces — one person holds while the other nails. Use a laser level to establish a consistent reference line around the room. Always cut pieces slightly long (1/16 inch) and spring them into place for a tight fit. And remember that paint and caulk cover many sins — perfect joints are the goal, but small gaps are easily hidden.
Room Prep and Layout
Before cutting molding, map the room. Measure every wall at the ceiling line, not at the floor, because drywall corners are rarely perfect. Mark inside corners, outside corners, scarf joints, and any returns on a simple sketch. Add a few inches to each piece for trimming, and buy extra material for test cuts. Crown molding has a learning curve, and one bad outside corner can consume more stock than expected.
Check the ceiling and wall for waves before installation. If the ceiling dips, a perfectly straight molding piece may reveal an uneven shadow line. Lightly mark studs and ceiling joists with painter’s tape so your fasteners land in solid framing. For painted molding, prime the back and first coat the face before installation; touch-ups are easier than painting raw molding overhead.
Fitting Difficult Corners
Inside corners are usually best coped rather than mitered. Cut the first piece square into the corner. Cut the mating piece at 45 degrees, then use a coping saw to follow the profile left by the miter. A coped joint hides small wall-angle errors because the profile overlaps the first piece.
For outside corners, make test blocks before cutting full-length pieces. Label the blocks “left outside” and “right outside” and keep them near the saw. If the wall is not exactly 90 degrees, split the difference between the two pieces. A digital angle finder helps, but test blocks remain the fastest way to confirm the cut before sacrificing expensive molding.
Related Articles
Accurate miter cuts are the foundation of crown molding installation. The miter saw buying guide helps you choose the right saw with the compound miter capability this project demands. Before you start cutting, review how to read woodworking plans to confidently interpret room measurements and cut lists. When installation is complete, the wood finishing guide covers painting and staining techniques that will give your molding a polished, professional appearance.

The Carpenter's Guide Editorial Team
Independent trade-focused editorial team