Japanese Joinery Techniques: Beautiful Woodworking Without Nails
Japanese joinery represents the pinnacle of the woodworker’s craft. For over a thousand years, Japanese carpenters have developed an extraordinary system of interlocking joints that hold timber-frame structures together without nails, screws, or metal fasteners of any kind. These joints rely on precise geometry, friction, and the natural properties of wood to create connections that are both incredibly strong and visually stunning. While mastering Japanese joinery takes years of practice, understanding the principles behind these joints will improve every aspect of your woodworking.
The Philosophy Behind Japanese Joinery
Japanese joinery is rooted in a deep respect for the material. Rather than forcing wood into submission with metal fasteners, Japanese carpenters work with the natural properties of the wood. Joints are designed to accommodate wood movement, distribute stress evenly, and actually grow tighter over time as the wood seasons and shrinks.
The emphasis on precision is central to the tradition. Japanese joinery demands accuracy measured in fractions of a millimeter. This precision creates joints that fit so tightly they appear seamless — the hallmark of master-level work.
Essential Japanese Joints
Tsugi (Splicing Joints)
Tsugi joints connect two pieces end-to-end, extending their length. The most common splicing joint is the scarf joint (koshi-kake tsugi), which has been used in Japanese temple construction for centuries. The two pieces overlap with interlocking stepped cuts that resist both tension and compression. A hidden wedge (shachi) locks the joint permanently.
The kanawa tsugi (half-lap scarf joint with blind tenon) is a more complex splicing joint that adds a hidden tenon and mortise to the scarf joint. This provides resistance against twisting and bending in addition to tension. Kanawa tsugi is used in structural beams where maximum strength is required.
Shiguchi (Connecting Joints)
Shiguchi joints connect pieces at angles — typically where posts meet beams or where rafters meet plates.
The kama tsugi (sickle joint) is a half-lap variation with curved interlocking surfaces that resist pull-out. The name comes from the sickle-like shape of the mating surfaces. This joint is used for connecting beams to posts and can be locked with a drawbore pin.
The mechi-dome koshi-kake combines a stopped half-lap with a stub tenon. This is one of the most practical Japanese joints for Western woodworkers to learn, as it can be cut with common tools and provides excellent strength for furniture applications.
The ari tsugi (doveplate joint) uses a dovetail-shaped key to lock the connection. The key is driven in from one direction and held permanently by the taper of the dovetail. This is used in gate construction and heavy timber framing.
Kigumi (Decorative Interlocking Joints)
Kigumi is the art of creating decorative patterns from interlocking wooden elements without any fasteners or adhesives. These joints appear in Japanese screens, transoms (ranma), and decorative panels. The precision required is extraordinary — each piece must fit perfectly to create the visual pattern while maintaining structural integrity.
Common kigumi patterns include the hemp leaf (asa-no-ha), nested squares (shihou-gumi), and interlocking circles (kurigumi). Each pattern has specific cultural meanings and traditional applications.
Tools for Japanese Joinery
Japanese joinery is traditionally executed with Japanese hand tools, which are designed for the pull stroke rather than the push stroke of Western tools:
- Japanese pull saws (ryoba, dozuki, kataba) cut on the pull stroke, producing thin kerfs and clean surfaces
- Japanese chisels (nomi) have laminated steel blades with a hard cutting edge backed by softer steel
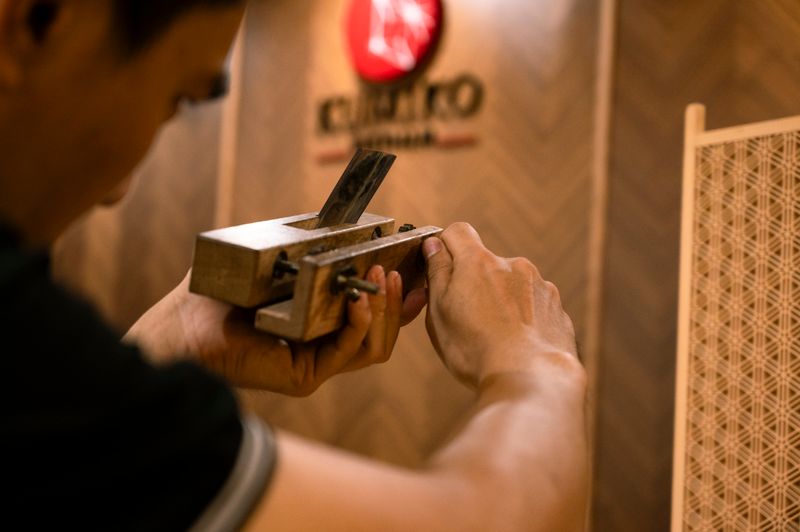
- Japanese planes (kanna) are pulled toward the body and produce gossamer-thin shavings
- Marking gauges (kebiki) with knives rather than pins create precise layout lines
The Festool DOMINO DF 500 Joiner is a modern tool inspired by the concept of loose tenon joinery that shares principles with traditional Japanese joinery.
Getting Started
Begin with the simpler joints — the scarf joint and the basic half-lap with pin. Practice on inexpensive softwood like pine or cedar before moving to hardwoods. Focus on layout accuracy above all else. In Japanese joinery, the quality of the layout determines the quality of the joint.
Cut the female part (mortise or socket) first, then fit the male part (tenon or tongue) to it. Pare material gradually rather than removing too much at once. A well-fitted Japanese joint should slide together with firm hand pressure and hold position when released.
The Bigger Picture
Japanese joinery teaches patience, precision, and a deeper understanding of wood as a material. Even if you never build a timber-frame temple, the skills and mindset developed through practicing these joints will make you a better woodworker. The lesson is clear: when you take the time to cut joints precisely, the result is stronger, more beautiful, and more enduring than any fastener could achieve.
How to Practice Without Wasting Good Lumber
Begin with straight-grained pine, poplar, or cedar offcuts before moving to expensive hardwood. Practice one joint repeatedly rather than trying a different joint every session. Cut the first version oversize, study where it binds, and then cut the second version with clearer layout lines and a sharper chisel. The repetition builds muscle memory.
Use a marking knife instead of a pencil for critical shoulders. Knife lines give a chisel a physical wall to register against, which is one reason traditional joinery can fit so tightly. Saw just on the waste side of the line, then pare back to the line in thin shavings. If you overshoot, do not hide the mistake with glue; save the piece as a reference and cut another.
Wood Movement Still Matters
Even the most elegant interlocking joint must allow the wood to move. Long-grain-to-long-grain contact glues well, while end grain is weaker and absorbs glue like a straw. When adapting Japanese joints to modern furniture, pay attention to grain direction and seasonal expansion. A joint that is perfect in winter can split in summer if it traps a wide panel across the grain.
Traditional timber joinery often works because the parts are large, the loads are predictable, and the joinery is designed as a system. For small furniture, start with decorative or light structural applications before using complex joints in chairs, benches, or load-bearing frames.
Related Articles
The precision Japanese joinery demands starts with razor-sharp tools. Our guide to sharpening chisels and plane blades explains how to prepare and maintain the cutting edges these techniques require. If you are earlier in your joinery journey, the dado and rabbet joints guide covers the fundamental housing joints that underpin much of casework joinery. For a comparison of modern loose-tenon systems that share the mortise-and-tenon principle, see the biscuit joiner vs. Domino comparison.

The Carpenter's Guide Editorial Team
Independent trade-focused editorial team