Bridle Joint and Box Joint: Strong Alternatives to Dovetails
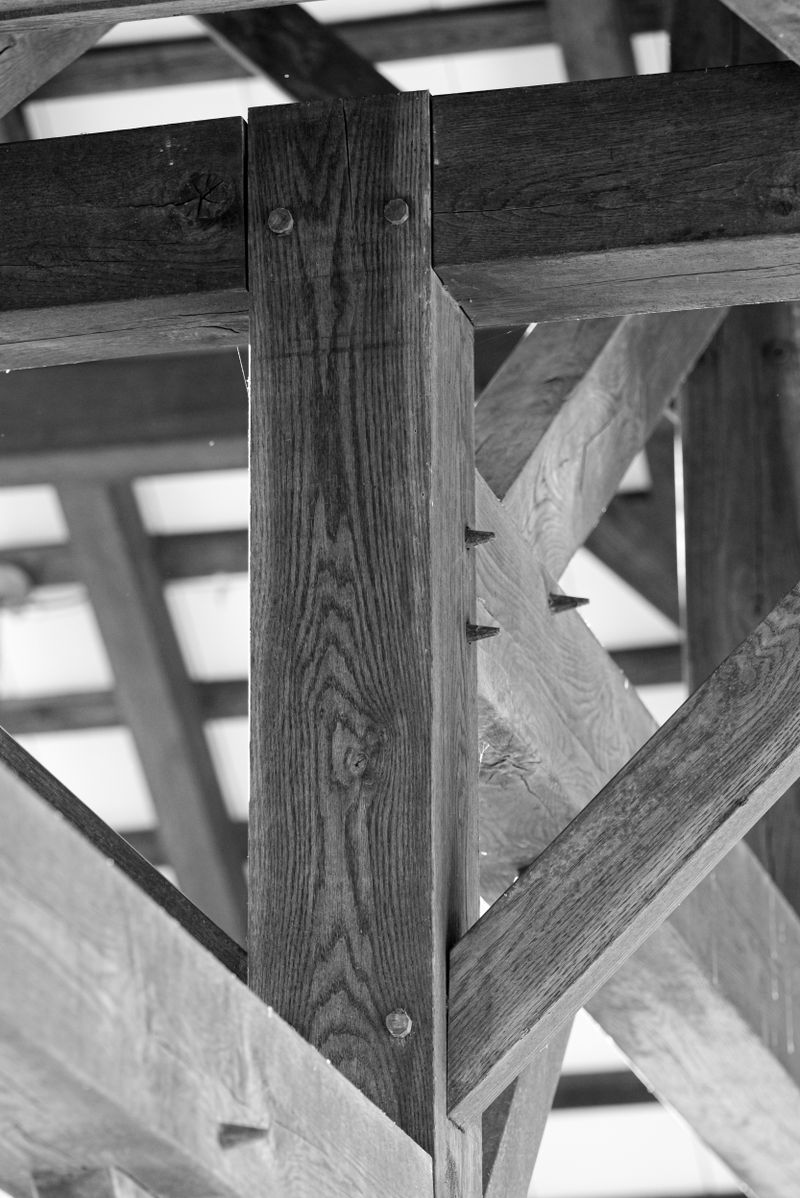
Woodworking joinery discussions almost always circle back to the dovetail. It is the glamour joint — the one on magazine covers and YouTube thumbnails, the one that signals “serious craftsman.” And for good reason: the dovetail is both beautiful and mechanically excellent.
But fixating on the dovetail means overlooking two joints that are often a better choice for the task at hand. The bridle joint is one of the strongest frame joints available, faster to cut than a mortise and tenon, and structurally superior for certain applications. The box joint (also called the finger joint) provides enormous gluing surface, geometric beauty, and lends itself perfectly to machine cutting with a simple shop-made jig.
Every woodworker should know both. This guide covers the bridle joint and box joint in depth — what they are, where they shine, how to cut them by hand and by machine, and how they compare to the dovetail in strength, difficulty, and appearance.
Part One: The Bridle Joint
What Is a Bridle Joint?
The bridle joint is essentially an open mortise and tenon — the mortise is open on one end (or two ends), allowing the tenon to slide in from the side rather than being inserted end-first. This creates a joint that is:
- Faster to cut than a closed mortise and tenon (no need to chop a blind mortise)
- Very strong in racking resistance due to long-grain gluing surfaces and mechanical resistance to the forces that destroy frames
- Self-squaring during assembly when properly fit — the tenon fills the slot completely
The name “bridle” comes from the resemblance to the bridle piece used on a horse — a U-shaped fitting that surrounds and grips.
Types of Bridle Joints
Corner Bridle Joint (T-Halving)
The most common configuration. One piece has a fork cut into the end (an open slot, or open mortise), and the other piece has a tenon that fits into it. The pieces meet at 90° at a corner. The interlocking pieces resist pulling apart in the vertical direction; glue and mechanical friction resist horizontal movement.
Used in: picture frames, small door frames, light furniture frames, the corners of workbench frames.
T-Bridle Joint
A T-bridle joins a rail at a T-intersection rather than a corner. The upright piece receives a fork; the crossing piece inserts its tenon into the fork from the side. This is extremely useful for frame construction where you need intermediate dividers — a center divider in a frame, for example.
Mitered Bridle Joint
A mitered version hides the end grain on the outside of the corner — the joint is mitered on the external face while the bridle interlocking happens inside. More complex to cut but useful when the exterior of the frame will be visible.
Angled Bridle Joint
Bridle joints can be cut at angles other than 90°, making them useful for frames with compound angles, gussets, or braces. Layout requires careful angle setting with a bevel gauge, but the cutting method is the same.
Where Bridle Joints Excel
The bridle joint is particularly well-suited to:
- Gate construction: A gate sees severe racking forces — it swings repeatedly and bears its own weight at the end of two hinges. Bridle joints at the corners resist this racking far better than simple butt joints or even screwed connections.
- Door frames and window frames: Bridle joints at the corners of a light door frame provide structural resistance to racking that keeps the door square over decades.
- Picture and mirror frames: For frames that need to be both strong and easily assembled, the bridle joint is an excellent choice.
- Workbench frames: The leg-to-stretcher joints on a heavy workbench can be bridle joints; the open nature makes assembly and disassembly possible.
- Ladder frames: Any frame that needs to resist twisting benefits from the bridle.
Advantages of the Bridle Joint Over Mortise and Tenon
- Easier to cut: The open mortise (fork) can be cut entirely with a saw — no chisel mortising required. Two or three saw cuts and you have the fork; two or three saw cuts and you have the tenon.
- Easier to fit: You can see the fit from both sides, making adjustment straightforward.
- Large gluing surface: The three walls of the fork all contact the tenon, giving substantial gluing surface.
- Self-squaring: A well-fit bridle joint will sit square during assembly without extensive clamping.
How to Cut a Bridle Joint by Hand
Tools Required
- Marking gauge
- Marking knife and square
- Tenon saw or dovetail saw
- Bench chisels (1/4”, 1/2”)
- Mallet
- Bench vise
Step 1: Set Up the Marking Gauge
The tenon thickness equals 1/3 of the stock thickness (same rule as for a mortise and tenon). Set your marking gauge to this dimension and mark the tenon cheeks on the end of the tenon piece. For the fork piece, mark the width of the slot equal to the tenon thickness, centered on the stock.
Mark all lines with a marking knife — crisp, precise lines make for precise cuts.
Step 2: Cut the Fork (Open Mortise)
Secure the fork piece vertically in a vise. Saw down each side of the slot to the depth of the fork — this depth equals the width of the mating piece. Keep both cuts on the waste side of your knife line.
Remove the waste between the two saw cuts. For narrow slots, a coping saw or fret saw removes the bulk; then pare the bottom of the slot flat with a chisel. The bottom of the fork must be flat and square — it is a visible, structural surface.
Step 3: Cut the Tenon
Saw the tenon cheeks exactly as you would cut a regular mortise and tenon tenon (see our mortise and tenon guide for the detailed cheek-cutting sequence). The shoulders are then sawn across the width to define the tenon length.
Step 4: Fit the Joint
Test fit without glue. The tenon should slide into the fork with hand pressure — snug, with no wobble. If it is too tight, pare the tenon cheeks with a shoulder plane or sharp chisel. If it is too loose, you have two options: remake the piece, or apply a veneer face to the tenon cheek to build it back up (a valid shop fix for practice joints).
Step 5: Glue and Assemble
Apply glue to all mating faces — the tenon cheeks, the fork walls, and the bottom of the fork. Assemble, clamp, and check for square. The joint will naturally want to sit square if it is well fit; just confirm with a square and a diagonal measurement before the glue sets.
Part Two: The Box Joint
What Is a Box Joint?
The box joint (also called the finger joint consists of interlocking rectangular fingers cut into the ends of two boards. The fingers of one board fill the spaces between the fingers of the other, creating a comb-like appearance when viewed end-on. When assembled, the joint is extremely strong.
The box joint is the industrial version of the dovetail — optimized for production efficiency. Where the dovetail’s angled pins and tails create mechanical locking in one direction, the box joint is a purely glue-dependent joint: the fingers create enormous surface area for glue, but there is no mechanical interlocking that resists tension without glue.
That said, the gluing surface advantage of a box joint is spectacular. A row of 1/4” fingers in a 6”-wide board presents many times the gluing surface of a simple butt joint. A well-glued box joint is stronger than the surrounding wood.
Applications for Box Joints
- Boxes and small carcases: The natural home of the box joint. It is attractive, strong, and can be cut quickly once a jig is set up.
- Drawers: Box joints make excellent drawer boxes — faster than dovetails, nearly as strong, and with a clean geometric aesthetic.
- Tool chests and shop boxes: A tool chest needs to resist impact and the weight of contents. Box joints handle this extremely well.
- Decorative corner joints: The geometric pattern of finger joints has its own aesthetic appeal, especially when contrasting wood species are used — dark walnut fingers in maple, for example.
Aesthetic Advantages
The box joint has a clean, geometric beauty that is distinct from the dovetail’s organic variation. Equal-spaced, precise fingers have a modern, almost architectural quality. The joint can be made with very fine fingers (1/8” or even less with a spiral router bit) for delicate work, or with bold 1/2” or 3/4” fingers for heavy-duty construction.
One particularly striking effect: cut the box joints slightly long so the fingers protrude past the face of the mating board, then flush them after glue-up. The alternating long-grain end grain creates a tactile, three-dimensional surface.
Glue Surface Advantage
Let us be specific about this claim. In a 6” wide board:
- A butt joint has 6 square inches of gluing surface (end grain, weak).
- A dovetail joint (6 tails) has approximately 12–15 square inches of long-grain gluing surface.
- A box joint with 1/4” fingers (12 fingers) has approximately 20–24 square inches of long-grain gluing surface.
The numbers favor the box joint for pure gluing strength. The dovetail wins on mechanical interlocking (which matters if the joint is stressed before glue is fully cured, or if the glue fails). In practice, both are excellent — choose based on aesthetics, production speed, and available tooling.
Cutting Box Joints: Table Saw with a Jig
The most common and efficient method for cutting box joints is a table saw jig with a dado blade. This simple jig (one of the most useful jigs in the shop) can be built in an afternoon and used for years.
Setting Up the Dado Blade
Install a dado stack in your table saw ground to exactly the width of the fingers you want. If you want 3/8” fingers, grind the dado to exactly 3/8”. Precision here is critical — any variance multiplies across all the fingers and the joint will not fit.
Raise the dado blade to exactly the height of the stock thickness (or very slightly above it — the finger should protrude just a hair to allow flush trimming).
Building a Box Joint Jig
A basic table saw box joint jig consists of:
- A sled base — a flat piece of plywood or MDF that rides in the table saw’s miter gauge slot.
- A vertical fence perpendicular to the blade — the boards stand against this fence while being cut.
- A key or indexing pin — a small piece of wood exactly the same size as the dado kerf, glued into a hole in the fence at exactly one finger-width from the blade.
Building the jig:
- Make a first cut through the fence with the dado blade to create a notch.
- Cut a key from scrap wood to exactly fit the notch — same width, same height.
- Glue the key into the notch, positioned exactly one finger-width from the blade (measure center-of-blade to center-of-key equals one finger width x 2).
- Allow to cure, then test with scrap.
Using the jig:
- Make the first dado cut in Board A.
- Place that cut over the key to index Board A, and make the second dado cut.
- Continue across the board, each time placing the last cut over the key to position the next.
- For Board B: offset by one finger width (place the end of Board B against the key, then cut the first dado).
When done correctly, the fingers of Board A exactly fill the slots of Board B and vice versa.
Router Table Method
A router table with a straight or spiral upcut bit and a fence can also cut box joints — especially useful for thin stock or very fine fingers. The procedure is the same as the table saw method; the indexing key works identically. The advantage of a router table is that spiral bits leave a cleaner bottom in the finger slots than a dado stack.
Spacing Options
Box joints are traditionally cut with square fingers — the finger width equals the space between fingers. This produces the symmetrical comb look. However, you can vary the spacing:
- Wider fingers, narrower spaces: More wood in the joint, different visual rhythm.
- Alternating widths: Irregular spacing can create an interesting pattern, though setup is more complex.
- Very fine fingers (1/8”): Used for small boxes, jewelry boxes, decorative work. Requires a precision setup and sharp bits.
Comparing the Three Joints: Dovetail vs. Bridle vs. Box Joint
| Factor | Dovetail | Bridle Joint | Box Joint |
|---|---|---|---|
| Cutting difficulty | High (hand) / Medium (jig) | Low–Medium | Low (with jig) |
| Mechanical locking | Yes (one direction) | Partial | No |
| Gluing surface | Large | Large | Very large |
| Best application | Drawers, boxes, carcases | Frames, gates, doors | Boxes, drawers, carcases |
| Visual appeal | Traditional, organic | Clean, structural | Geometric, modern |
| Machine-friendly | Yes (jig required) | Yes (table saw) | Yes (simple jig) |
| Setup time | High (hand) / Medium (jig) | Low | Low once jig is built |
| Overall strength | Excellent | Excellent | Excellent |
The honest answer: all three joints are more than strong enough for any furniture or cabinetry application when properly made and glued. Choose based on:
- Aesthetics: Do you want traditional (dovetail), structural-modern (bridle), or geometric-modern (box joint)?
- Production volume: Making one box? Hand-cut dovetails. Making twenty drawers? Box joint jig.
- Application: Frame and panel construction? Bridle. Carcase corners? Dovetail or box joint.
- Skill level: Bridle and box joints are accessible to beginners. Dovetails by hand take practice.
Building a Box Joint Jig: Detailed Plans
Here is a practical plan for a table saw box joint jig sized for 3/8” fingers:
Materials:
- 3/4” Baltic birch plywood, 12” x 24” (sled base)
- 3/4” hardwood for the fence, 4” x 18”
- Hardboard runner to fit your miter slot
- Dado stack set to 3/8” width
- Scrap hardwood for the key
Construction sequence:
- Mill the hardboard runner to fit your miter slot with a slight friction fit. Glue and screw it to the underside of the sled base, flush with one end.
- Square the fence to the blade (use a reliable square, not the miter gauge angle) and screw it to the top of the sled from below.
- Make one pass through the fence with the 3/8” dado blade to cut the key slot in the fence.
- Mill the key from a hardwood scrap — it should be exactly 3/8” wide and 3/4” tall, fitting the slot snugly.
- Place the key in the slot. Measure the distance from the blade to the key: it should be exactly 3/8” from the near face of the blade to the near face of the key.
- Glue the key in place.
- Test with scrap — adjust if necessary by shimming the key or trimming it slightly.
The Freud SD208 8-Inch Dado Set is a top-rated dado blade set that produces clean, flat-bottomed cuts essential for precise box joint fingers. A quality dado set pays for itself quickly in the variety of cuts it enables.
Tips for Perfect Box Joints
- Precision is everything in the setup. A key that is even 1/64” off its target spacing will accumulate error across 12 fingers in a 6” board — the last finger will not fit.
- Test with scrap before cutting your good wood. Always. Always.
- Cut both mating boards in the same session without moving the jig. Any variation in the dado blade height between sessions will change the fit.
- Glue squeeze-out is aggressive with all that surface area — have everything ready before you apply glue, and work fast.
- Clamp across the fingers, not along the board. This brings the finger faces together, which is where the structural surface is.
- Let glue cure fully before trimming or planing flush — green glue gives way, and you will tear out fingers.
Conclusion
The dovetail gets the glory, but the bridle joint and box joint deserve a regular place in every woodworker’s toolkit. The bridle joint is the fastest and most accessible strong corner joint for frames — easier than a mortise and tenon, stronger than a biscuit or pocket hole, and requiring only a saw and a few chisels. The box joint, once a simple jig is built, produces beautiful, production-ready corner joints with an enormous gluing surface and a distinctive geometric aesthetic.
Learn all three. Reach for whichever suits the project. And remember that joinery quality — not exotic tool choices — is what separates good furniture from furniture that lasts for generations.
Related Articles

The Carpenter's Guide Editorial Team
Independent trade-focused editorial team