Inset vs. Partial-Overlay vs. Full-Overlay Cabinet Hinges
Quick answer
Inset, partial-overlay, and full-overlay describe where a closed cabinet door sits relative to the opening or cabinet edge. Correct hinge selection also depends on cabinet construction, door thickness, cup boring, mounting plate, hinge geometry, clearance, and adjustment range.
Common questions
- Can a full-overlay hinge replace a partial-overlay hinge?
- Not as a label-only swap. The new hinge, mounting plate, cup boring, cabinet attachment, and door position must work together. Changing overlay can also change gaps, handle clearance, and how paired doors meet.
- How do I know which concealed cabinet hinge to buy?
- Identify face-frame or frameless construction, record the door position and actual coverage, then document the hinge and plate numbers, cup diameter and depth, boring distance, screw pattern, door thickness, opening angle, and available adjustment. Test one complete set before ordering the project quantity.
Source note: Reviewed against current official Blum hinge programme, COMPACT CLIP, CLIP top assembly, and template resources. The supplied legacy brochure URL returned 404 on August 6, 2026; dimensions and ratings must come from the selected product's current documents.
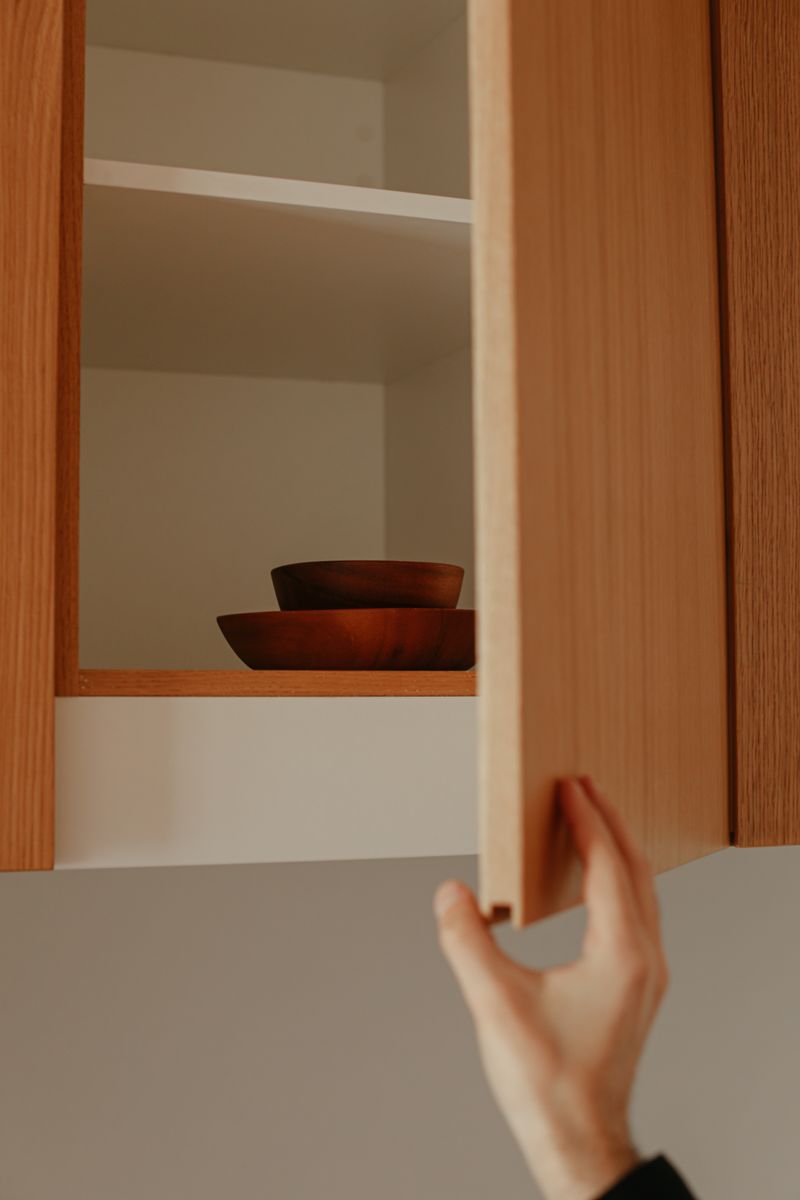
Two concealed “full overlay” hinges can still fail to interchange. Face-frame and frameless products may use different cup boring, plates, and arm geometry.
Inset, partial overlay, and full overlay describe the closed door’s relationship to the cabinet. They do not fully specify the hinge. Identify the cabinet, measure the door position, and document the complete hardware system before ordering replacements.
Cabinet hinge styles at a glance
| Door position | What it means | Typical planning concern |
|---|---|---|
| Inset | Door face sits within the opening or frame plane | Even reveal, door thickness, pull clearance, and binding against the opening |
| Partial overlay | Door covers part of a face frame or cabinet side/partition | Actual coverage, shared partitions, and the gap between adjacent doors |
| Twin or half overlay | Two doors commonly share a center partition, with each covering part of it | Hinge geometry, plate choice, and meeting-door clearance |
| Full overlay | Door covers most of the relevant face-frame stile or frameless cabinet edge | Edge reveal, adjacent-door clearance, and end-panel clearance |
These are application concepts, not universal dimensions. Suppliers may use “partial,” “half,” and “twin” differently, so record the product number and measured geometry.
First identify face-frame or frameless construction
Open a door and look at the cabinet front.
A face-frame cabinet has rails and stiles across the box front. The hinge may fasten to the frame, blocking, or a product-specific plate. A frameless cabinet has no separate front frame; concealed hinges usually connect the door cup to a plate on the cabinet side.
Do not identify construction from the closed door alone; a wide-overlay face-frame door can resemble a frameless front.
Blum describes its COMPACT CLIP programme as a face-frame application with separate partial- and full-overlay products. Its broader hinge range includes other applications and plates. A brand or series name is not enough.
Understand inset, partial overlay, and full overlay
Inset doors
An inset door closes inside the face-frame or cabinet opening. The visible gap is the reveal. The hinge must clear the opening and return to the planned closed position. Record all four reveals plus any stop, catch, bumper, or bead; an out-of-square box, bowed door, or thick finish can cause rubbing.
Partial-overlay and twin-overlay doors
A partial-overlay door covers only part of a frame member or cabinet edge. Two face-frame doors may meet over a wide center stile; two frameless doors may share a partition in a half- or twin-overlay application. Record which member each door covers, where the plate attaches, and how the neighbor uses that space.
Full-overlay doors
A full-overlay door covers most of the relevant stile or cabinet edge. “Full” does not mean zero gap or one standard overlay; the cabinet end, edge profile, hinge motion, pull, and neighboring front still need clearance.
Measure the existing door position
Photograph each cabinet closed and open, then label its door and opening.
For an overlay door:
- Measure the opening or cabinet edge from a consistent reference.
- Measure the door width and height at several points.
- Record actual coverage at the hinge side, latch side, top, and bottom.
- Record the visible gaps to adjacent doors, drawers, end panels, walls, appliances, and trim.
- Note whether paired doors share a partition or close against a center stile.
The difference between a centered door and its opening can check combined overlay, but do not automatically divide it equally. Reveals may be asymmetric, and the hinge reference may not be the opening edge.
For an inset door, record the opening, door size, every reveal, and whether the face is flush, set back, or held proud by bumpers.
Use a steel rule, calipers, and consistent reference faces where precision matters. The marking and measuring tools guide explains why switching reference edges compounds error.
Document the complete hinge system
Support and remove one representative door. Keep its hinges, plates, and screws together, and preserve every stamped number.
Record all of the following:
- Cabinet construction: face frame or frameless
- Door position: inset, measured partial overlay, shared-partition overlay, or measured full overlay
- Door width, height, thickness, material, edge profile, and weight concerns
- Hinge manufacturer, complete number, series, and any readable codes
- Hinge count and vertical positions
- Cup diameter and actual required depth
- Cup center or edge location and the boring distance specified by the manufacturer
- Cup screw, dowel, press-in, or tool-free attachment pattern
- Hinge arm shape or crank
- Mounting plate number, height, attachment pattern, and setback
- Opening angle and any angle-restriction accessory
- Side, height, and depth adjustment range for the exact hinge-and-plate combination
- Soft-close, self-close, push-to-open, or catch requirements
- Nearby shelf, rollout, drawer, pull, appliance, wall, and end-panel clearances
Blum’s current CLIP top assembly page describes multiple attachment methods and three-dimensional adjustment within that product family. Treat those features as series-specific. Another hinge may adjust differently or require another plate.
Why marketing labels do not determine fit
Overlay results from cabinet geometry + plate + hinge arm + cup position + door thickness + adjustment. Changing one input can move the door or alter its path.
A marketing label may omit:
- Whether it is for face-frame or frameless mounting
- The compatible mounting plate
- The permitted door thickness or edge profile
- Required cup boring and fastener pattern
- The actual overlay range for the configuration
- Opening clearance and zero-protrusion behavior
- Adjustment limits
- Restrictions for wide, heavy, mirrored, thin, or profiled doors
Use the current selector, technical sheet, and boring diagram for the exact SKU. The Blum template library supports different plates and hinge systems; a jig is accurate only when it matches the hardware.
Replacement-in-kind versus changing the door style
Replacement-in-kind
Matching the original position is usually the lowest-risk repair. Start with stamped hinge and plate numbers. If the hardware is obsolete, compare the replacement documentation line by line. Reuse a door only if its bore and fastener area are sound and expressly compatible; include any conversion or repair plate in the test.
Converting inset, partial overlay, or full overlay
Changing door position is a cabinet-front redesign. It may require new doors, fresh boring, different plates, filled holes, or face-frame changes.
Check the consequences for:
- Gaps between adjacent doors and drawer fronts
- Door swing past an end panel, wall, filler, appliance, or projecting counter
- Pull and knob reach, alignment, and collision
- Paired doors meeting at a shared partition
- Exposed or newly covered face-frame areas and finish variation
- Shelves or rollouts that need the door to clear the opening
- Door edge profiles that collide before the rated opening angle
For a larger surface update, the cabinet refacing guide separates hardware work from problems requiring new boxes. Drawer clearances are separate; see the drawer slide comparison.
Test-fit one complete door
- Obtain one exact hinge-and-plate set with its current instructions.
- Make a full-size sample corner or use the least visible representative door and cabinet.
- Verify cup depth and edge clearance before drilling the finished door.
- Install the plate from the manufacturer’s datum, not an old screw hole that may be misplaced.
- Attach the supported door and center each adjustment within a useful working range.
- Close it slowly while watching every edge and nearby obstruction.
- Set the reveal, then cycle the door repeatedly.
- Confirm the latch, bumper, soft-close, or push-to-open behavior.
- Record the final jig settings and dimensions before repeating the installation.
Adjustment cannot correct the wrong hinge or bore. If it reaches its limit before gaps are right, recheck the system geometry.
Product-specific cabinet hinge worksheet
Use one worksheet for every distinct cabinet condition:
- Cabinet ID and door label:
- Face frame or frameless:
- Inset, measured overlay, or shared-partition application:
- Opening/box reference dimensions:
- Door dimensions and thickness:
- Four reveals or four coverage measurements:
- Adjacent-front and end-panel clearances:
- Existing hinge and plate numbers:
- Proposed hinge and plate numbers:
- Cup diameter, depth, and boring distance:
- Attachment pattern and fasteners:
- Arm/crank and plate height:
- Opening angle and restriction accessory:
- Adjustment ranges:
- Door material/weight limits confirmed in exact product sheet:
- Motion feature or catch:
- Test-fit result and final jig settings:
Attach photographs of the closed reveal, open hinge, cup bore, plate, and nearby clearance. This record is more reliable than one loose hinge without cabinet context.
Select the application, then the hardware
Define where the door must sit, identify the cabinet, and select a documented hinge, plate, and boring configuration. Preserve compatible geometry for a replacement; redesign the whole front for a conversion. The worksheet and test fit prove whether the hinge belongs on the cabinet.

The Carpenter's Guide Editorial Team
Independent trade-focused editorial team